
Self-Hosting N8N on Google Cloud: A Complete Guide
This comprehensive guide provides a step-by-step walkthrough for self-hosting n8n on Google Cloud's free tier. You'll learn how to use Docker for containerization, Nginx as a reverse proxy, and Certbot for free SSL, enabling you to run your own powerful automation platform with a custom domain.
Table of Contents
Step 1: Docker installation & startup
Update the Package Index:
sudo apt updateInstall Docker:
sudo apt install docker.ioStart Docker:
sudo systemctl start dockerEnable Docker to Start at Boot:
sudo systemctl enable dockerStep 2: Running n8n in Docker
Run the following command to start n8n in Docker. Replace your-domain.com with your actual domain name:
sudo docker run -d --restart unless-stopped -it \
--name n8n \
-p 5678:5678 \
-e N8N_HOST="your-domain.com" \
-e WEBHOOK_TUNNEL_URL="https://your-domain.com/" \
-e WEBHOOK_URL="https://your-domain.com/" \
-v ~/.n8n:/root/.n8n \
n8nio/n8n
Or if you are using a subdomain, it should look like this:
sudo docker run -d --restart unless-stopped -it \
--name n8n \
-p 5678:5678 \
-e N8N_HOST="subdomain.your-domain.com" \
-e WEBHOOK_TUNNEL_URL="https://subdomain.your-domain.com/" \
-e WEBHOOK_URL="https://subdomain.your-domain.com/" \
-v ~/.n8n:/root/.n8n \
n8nio/n8n
This command does the following:
- Downloads and runs the n8n Docker image.
- Exposes n8n on port 5678.
- Sets environment variables for the n8n host and webhook tunnel URL.
- Mounts the n8n data directory for persistent storage.
After executing the command, n8n will be accessible on your-domain.com:5678.
Step 3: Installing Nginx
Nginx is used as a reverse proxy to forward requests to n8n and handle SSL termination.
Install Nginx:
sudo apt install nginxStep 4: Configuring Nginx
Configure Nginx to reverse proxy the n8n web interface:
Create a New Nginx Configuration File:
sudo nano /etc/nginx/sites-available/n8n.confPaste the Following Configuration:
server {
    listen 80;
    server_name your-domain.com; // subdomain.your-domain.com if you have a subdomain

    location / {
    proxy_pass http://localhost:5678;
    proxy_http_version 1.1;
    chunked_transfer_encoding off;
    proxy_buffering off;
    proxy_cache off;
    proxy_set_header Upgrade $http_upgrade;
    proxy_set_header Connection "upgrade";
    proxy_set_header Host $host;
    proxy_set_header X-Real-IP $remote_addr;
    proxy_set_header X-Forwarded-For $proxy_add_x_forwarded_for;
    proxy_set_header X-Forwarded-Proto https;
    proxy_read_timeout 86400;
    }
}
Replace your-domain.com with your actual domain.
Enable the Configuration:
sudo ln -s /etc/nginx/sites-available/n8n.conf /etc/nginx/sites-enabled/Test the Nginx Configuration and Restart:
sudo nginx -t
sudo systemctl restart nginx
Step 5: Setting up SSL with Certbot
Certbot will obtain and install an SSL certificate from Let's Encrypt.
Install Certbot and the Nginx Plugin:
sudo apt install certbot python3-certbot-nginxObtain an SSL Certificate:
sudo certbot --nginx -d your-domain.com
// If you have a subdomain then it will be subdomain.your-domain.com
Follow the on-screen instructions to complete the SSL setup. Once completed, n8n will be accessible securely over HTTPS at your-domain.com.
By using Nginx and Certbot, you ensure that your n8n instance is securely accessible over the internet with HTTPS.
Updating n8n and Docker
To ensure you update n8n and Docker correctly without losing data, it's crucial to follow specific steps, especially since your n8n data is persistently stored via a Docker volume (`~/.n8n`).
Here are the exact steps for both n8n and Docker updates:
Updating n8n (the application)
This process involves pulling the latest n8n Docker image and recreating your n8n container, while ensuring your persistent data volume is reused.
1. Connect to your VM via SSH:
ssh your-username@your-vm-external-ip(Or use the SSH button in the Google Cloud Console)
2. Stop the running n8n container:
docker stop n8nThis gracefully stops the n8n application.
3. Remove the old n8n container:
docker rm n8nThis deletes the old container instance. Your data (workflows, credentials, etc.) is safe because it's stored in the `~/.n8n` volume on your VM's disk, not inside the container itself.
4. Pull the latest n8n Docker image:
docker pull n8nio/n8n:latestThis downloads the most recent version of the n8n application image from Docker Hub.
5. Run n8n again using the latest image and your existing data volume:
You'll need to use the exact same `docker run` command you used initially for n8n, including all environment variables and the crucial volume mount `-v ~/.n8n:/root/.n8n`.
(Assuming your initial command looked like this, adjust if yours was different):
sudo docker run -d --restart unless-stopped -it \
  --name n8n \
  -p 5678:5678 \
  -e N8N_HOST="your-domain.com" \
  -e WEBHOOK_TUNNEL_URL="https://your-domain.com/" \
  -e WEBHOOK_URL="https://your-domain.com/" \
  -e N8N_BASIC_AUTH_ACTIVE=true \
  -e N8N_BASIC_AUTH_USER=your_username \
  -e N8N_BASIC_AUTH_PASSWORD=your_secure_password \
  -v ~/.n8n:/root/.n8n \
  n8nio/n8n
This command will create a new container from the latest image, attach your existing `~/.n8n` data, and start n8n.
6. Verify n8n is running:
docker psYou should see n8n listed with "Up" status.
Updating Docker (the container platform)
Updating Docker itself is separate from updating the n8n application. This involves updating the Docker engine installed on your VM.
1. Stop all running Docker containers (including n8n):
docker stop $(docker ps -aq)2. Update your VM's package lists and upgrade Docker:
sudo apt update
sudo apt upgrade docker-ce docker-ce-cli containerd.io docker-buildx-plugin docker-compose-plugin -y
# Or, if you installed via 'docker.io' package:
# sudo apt upgrade docker.io -y
3. Reboot your VM (Recommended):
sudo reboot4. Reconnect and verify Docker is updated:
docker --version
sudo systemctl status docker
5. Start your n8n container:
It should restart automatically. If not, start it manually:
docker start n8nReady to put AI to work?
Book a free 15-minute call. We'll map your busiest workflows and show you the three with the fastest payback — fixed price, no fluff.
Book a 15 min callGet the next build, first.
New tutorials, automation recipes, and field notes — straight to your inbox. No spam, unsubscribe anytime.
Related Posts
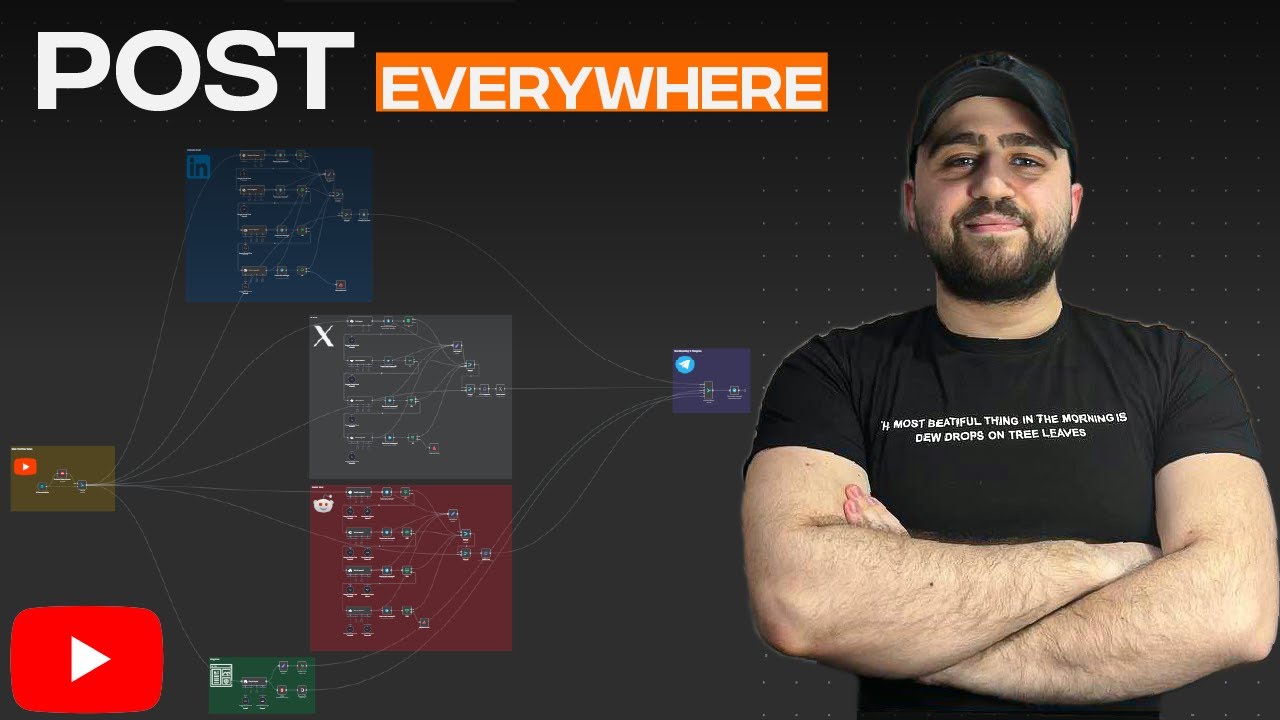
Automate YouTube to Social Media: Create & Publish Posts for LinkedIn, X & Reddit with n8n & AI
Learn how to build the ultimate social media automation that transforms new YouTube videos into engaging, AI-generated p...
Read →
Unlock the Power of Free AI: Build a Gemini TTS/STT Telegram Agent with n8n
Discover how to build a free Gemini AI Agent for Telegram using n8n for advanced Text-to-Speech (TTS) and Speech-to-Text...
Read →
Mastering AI Capabilities: The Unique Strengths of Large Language Models
In the rapidly evolving landscape of artificial intelligence, large language models (LLMs) have emerged as specialized t...
Read →Posts You Might Like

RAG: Enhancing AI with Retrieval-Augmented Generation
Retrieval-Augmented Generation (RAG) represents a significant leap in AI capabilities, merging powerful language models ...
Read →
AI Agentic: The Rise of Autonomous Systems
AI Agentic represents a paradigm shift in artificial intelligence, where systems can autonomously plan, execute, and ada...
Read →
AI in Healthcare: Transforming Modern Medicine
Artificial Intelligence is revolutionizing healthcare delivery, from diagnosis and treatment planning to drug discovery ...
Read →